What is XAMPP?
XAMPP is an open-source, cross-platform web server that consists of a web server, MySQL database engine, and PHP and Perl programming packages. It is compiled and maintained by Apache. It allows users to create WordPress websites online using a local web server on their computer. It supports Windows, Linux, and Mac.It is compiled and maintained by apache. The acronym XAMPP stands for;
- X – [cross platform operating systems] meaning it can run on any OS Mac OX , Windows , Linux etc.
- A – Apache – this is the web server software.
- M – MySQL – Database.
- P – PHP
- P – Perl – scripting language
Why use XAMPP?
XAMPP provides an easy-to-use control panel to manage Apache, MySQL, and other programs without using commands. To use PHP, we need to install Apache and MySQL. It’s not easy to install Apache and configure it as it needs to be set up and integrated with PHP and Perl, among other things. XAMPP deals with all the complexity to set up and integrate Apache with PHP and Perl.Unlike Java that runs with the Java SDK only, PHP requires a web-server to work.
How to Install XAMPP
We look into step by step process to install XAMPP for Windows. For Other Operating Systems, XAMPP installation steps are similar.Step 1) Download XAMPP
Click here to XAMPP download for Windows: https://www.apachefriends.org/download.html
Step 2) Start Installation
XAMPP Installation is just like installing any other windows program. There are however, a few things that we must note.
Step 3) Run the Setup
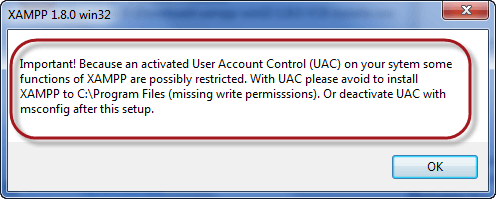
After you have downloaded XAMPP, run the setup. The warning message dialog window shown below appears.
Step 4) Change User Control Settings
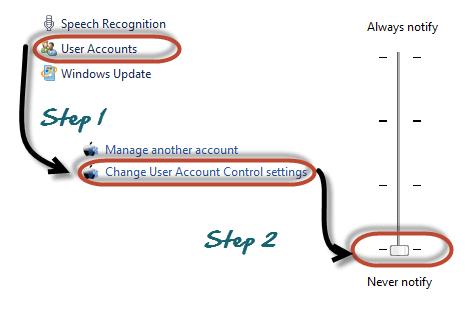
If you are using Windows Vista or Windows 7, make sure that you deactivate the User Account Control feature. To do this, Select Control Panel > User Accounts > Change User Access Control settings. The diagram below illustrates the main steps.
Step 5) Save the settings
- After you have deactivated the User Account Control, click on OK button on the warning message box.
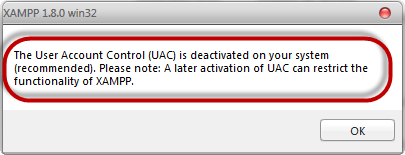
- This time you get the following message
Step 6) Click Next
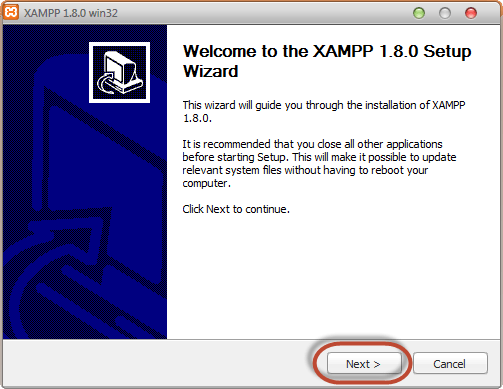
In the succeeding screen, click next
Step 7) Choose the Installation path
In the next screen, Change the installation path if required. Click Next

Step 8) Check the necessary services
In the next screen select Apache and MySQL. You may optionally select FileZilla (FTP Client) if needed. Click Install

Note a service is a long-running program in windows that does not require user intervention. Services can be set to run automatically whenever the windows operating system is started. For you to use Apache and MySQL, they are supposed to be running in the background. Installing them as services runs both Apache and MySQL automatically in the background whenever you power up your computer. If you have not installed Apache and MySQL as services, then you have to manually start them every time that you want to use them. You will have to do this from the XAMPP control panel.PHP and
Step 9) Finish the installation
On successful completion of installation, you will see the following window
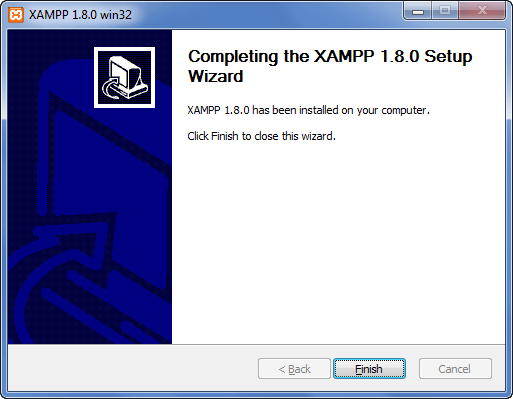
- Click on Finish button
